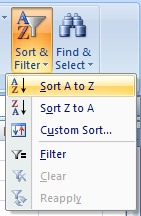
 Here are some simple rules to keep in mind when sorting data in Excel.
1 – Format the first row differently (make it bold) and Excel will automatically understand that row is a heading. It will not be sorted with the remaining rows.
2 – You don’t need to select all the data that will be sorted. By default, Excel will sort all non-blank rows and columns of continuous data. If you have 100 rows of data in columns A through H, you don’t need to highlight A1:H100 before sorting. You can click in any cell and all the rows will be sorted based on the contents of the column of the selected cell.
3 – Excel remembers the order of your last sort each time a new sort is executed. If you need your data sorted by last name and then by first name, sort them in reverse. Click one cell in the first name column and sort. Then click one cell in the last name column and sort. You will get all your names properly sorted without using the custom sort tool.
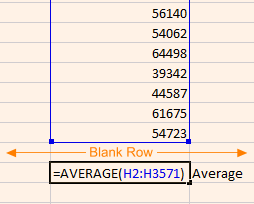
 4 – If you have data that you do not want to be sorted, create a blank row or column between the area that you want sorted and the area you don’t want sorted. This is handy if you have a calculation at the bottom of a column and you don’t want the calculated value to get mixed with the data in the next sort. Instead of placing the calculation in the first available cell under the column, skip one cell leaving a blank row.

1 Response to Efficiency Tip #105 – Excel – Sort