Not wanting to miss the latest fad in photography, I explored high dynamic range (HDR) this summer. We took our family vacation in the middle of August, so I had a little time to play around with the settings in my camera to capture the best exposures for HDR creation.
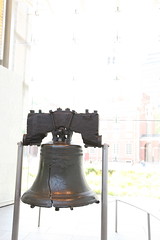
If you are not familiar with HDR, it’s probably best explained with an example. Here is a normally exposed picture of the Liberty Bell.

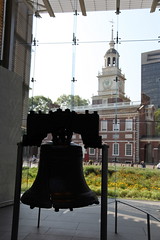
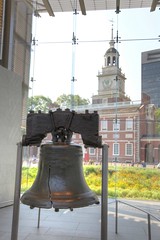
The new home to the Liberty Bell is just across the street from Independence Hall. A window has been fashioned just behind the bell so that as one views the bell, Independence Hall is right there in the background. Most cameras will average the amount of light in the picture and create an image similar to what I have above. Because of the bright light behind the bell, the shutter speed has been reduced to 1/100 of a second. At that quick speed the bell is dark and almost shadow like. Independence Hall is not much better. At 1/100 of a second there is too much light to get a good outline of the tower. It is all white.
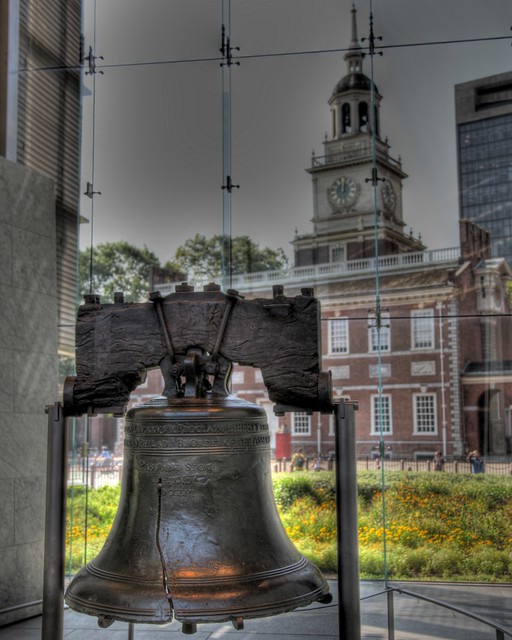
To get a good bell picture, the shutter speed needs to be around 1/30 of a second. Independence Hall is going to require a much faster shutter at around 1/400 of a second. HDR is the process of taking all three of these exposures and putting them together in one picture with all the parts exposed correctly.
 |
 |
 |
 |
| Over Exposed | Normal Exposure | Under Exposed | HDR – combined exposures from all three pictures |
As you can see from that last picture, the HDR is a combination of all three photos, bringing out the best parts of each picture. If you would like to see higher resolution versions of any of the above pictures, each is linked to the original.
If you have an SLR, there is a good chance your camera has a setting that will do multiple exposures with one press of the button. It is called Auto Exposure Bracketing (AEB). All the Canon SLRs (including my five year old Rebel XT) will do three exposures at different shutter speeds. Some of the Nikons will do up to nine different exposures. I found this chart which shows many models along with the number of frames of AEB.
Many people use a tripod when doing HDR photography. I was on vacation at many locations where a tripod was not practical or permitted. All of my pictures were hand held. That means each one has a little bit of movement. I was able to align the images when I did my HDR processing.
I played around with several programs before deciding Photomatix was the best. It’s used by most of the people I know doing HDR. For me, the killer feature is Batch Processing. I took 1200 HDR photographs during my vacation. Each one consisted of three individual pictures. All I had to do was point Photomatix to the folder with all my photos. Twenty-four hours later, all my HDRs were finished. If I would have done those by hand, I would still be going through my files.
Of course, there are many artistic options when doing HDR processing. It is easy to make a photograph look like a painting. Here is my favorite version of the Liberty Bell cropped as an 8×10.

